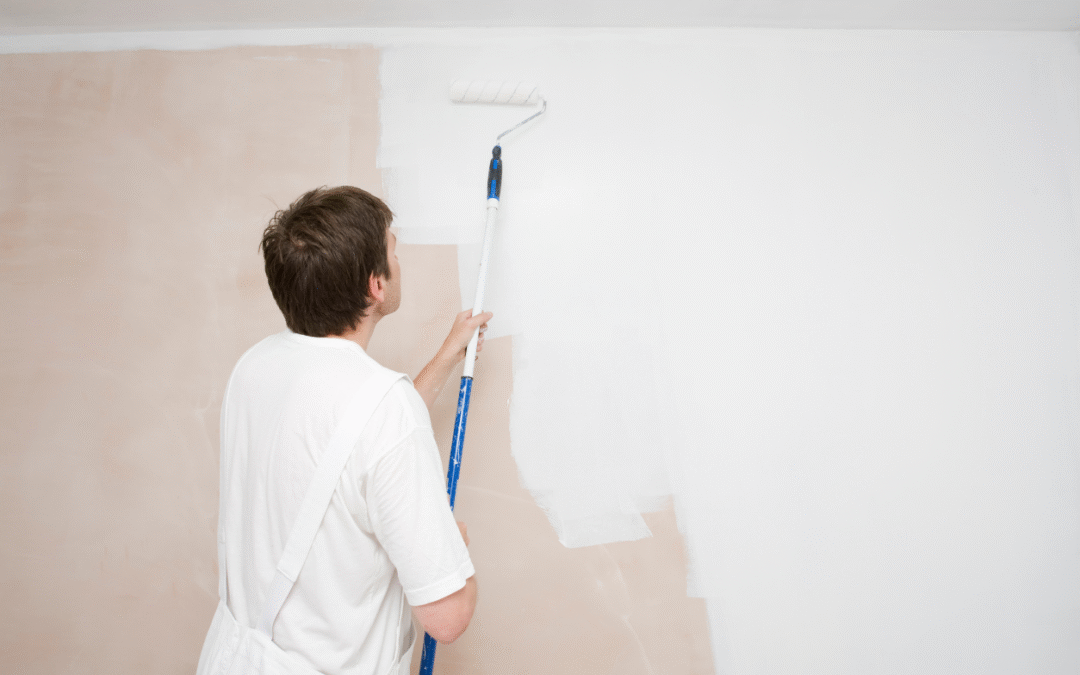
When it comes to home painting, what happens before the color goes on is just as important as the paint itself. A beautiful, lasting result doesn’t come from a quick coat—it comes from careful prep work done by professionals who know what they’re doing.
At JT Paint & Design, our experienced house painters follow a step-by-step process to make sure every wall or exterior surface is clean, smooth, and ready for paint. Whether you’re updating the outside of your home or freshening up a room inside, here’s what proper preparation looks like—and why it matters.
1. Initial Inspection and Planning
Before any work begins, a professional painting team will inspect the surface that’s going to be painted. This includes checking for:
- Cracks or holes in walls or siding
- Peeling or bubbling old paint
- Mold, mildew, or water stains
- Nail pops or drywall issues
- Signs of wood rot on exterior trim or siding
This inspection helps your painter decide what repairs are needed and which materials and tools will be required to get the best results.
Bonus Tip: Planning also includes talking through color options, finishes (matte, satin, gloss), and the timeline so everyone’s on the same page.
2. Protecting Your Space
Next, house painters take steps to protect your home. For interior jobs, that might include:
- Covering floors and furniture with drop cloths or plastic
- Masking off baseboards, crown molding, and outlets
- Removing switch plates, vents, or hardware
For exterior work, it could involve:
- Covering shrubs, walkways, and outdoor furniture
- Taping around windows, doors, and light fixtures
- Moving ladders and tools safely around your property
This part isn’t just about being neat—it prevents drips, smudges, and damage to your home or belongings.
3. Cleaning the Surface
Paint doesn’t stick well to dirty walls. That’s why surface cleaning is a must.
Interior surfaces may need to be wiped down with a mild detergent to remove grease, dust, or fingerprints—especially in kitchens or high-traffic areas.
Exterior surfaces often require power washing to remove built-up dirt, cobwebs, and old paint flakes. This helps the paint adhere evenly and prevents premature peeling or bubbling.
4. Repairing Imperfections
Once everything’s clean, the next step is to fix surface flaws. This can include:
- Filling nail holes or dents with spackling paste
- Sanding rough patches or bubbled paint
- Replacing damaged wood or siding sections
- Caulking gaps or seams around windows and trim
This repair work helps create a smooth canvas for the paint. Skipping it can leave your new color looking uneven, even if it’s fresh.
5. Sanding and Smoothing
After repairs dry, sanding helps blend everything together. House painters use different grit sandpaper depending on the surface type and condition.
- Light sanding may be all that’s needed for newer walls
- More aggressive sanding might be required for flaking paint or textured areas
In some cases, a full scrape may be necessary for exteriors with significant peeling. The goal is to remove loose paint and give the surface a smooth feel to ensure new paint bonds well.
6. Priming the Surface
Primer helps seal porous surfaces and create an even tone for your final color. Not every job needs primer, but a good painter knows when it’s a smart move.
- Stained or repaired walls often benefit from primer
- Dark colors being covered by lighter shades may require it
- New drywall or bare wood always needs priming
Skipping primer can lead to uneven color and more coats than necessary—costing more in the long run.
7. Checking the Weather (for Exteriors)
Weather plays a big role in outdoor painting projects. JT Paint & Design checks forecasts closely to avoid rainy days, strong winds, or extreme heat.
Ideal exterior painting conditions are:
- Dry weather with low humidity
- Mild temperatures between 50–85°F
- No rain in the forecast for at least 24 hours after painting
Skipping this consideration could lead to poor adhesion, cracking, or streaking.
8. Final Review Before Painting
Right before the first coat goes on, house painters walk through the space to double-check everything:
- Surfaces are fully dry
- Repairs are smooth and sanded
- Tape and protection are in place
- The right color and finish are confirmed
This last review ensures nothing’s been missed—and gives the homeowner a chance to make any last-minute changes before paint hits the wall.
Why Preparation Matters
Homeowners often underestimate how much time and skill go into painting prep. But proper preparation:
- Extends the life of your paint job
- Helps paint go on evenly and look better
- Prevents chipping, bubbling, and early wear
- Saves time and money by reducing the need for rework
A rushed paint job may look fine at first—but issues will show up quickly if the surface wasn’t properly prepped.
Trust the Pros at JT Paint & Design
At JT Paint & Design, our house painters treat every project with the care it deserves. We never skip steps or cut corners—because we know great results start with great preparation. Whether you’re repainting one room or refreshing your home’s curb appeal, we’re here to help you get the flawless finish you’re looking for.
Want to learn more or request a free estimate?
Contact JT Paint & Design today and let us show you how professional prep work leads to professional results.