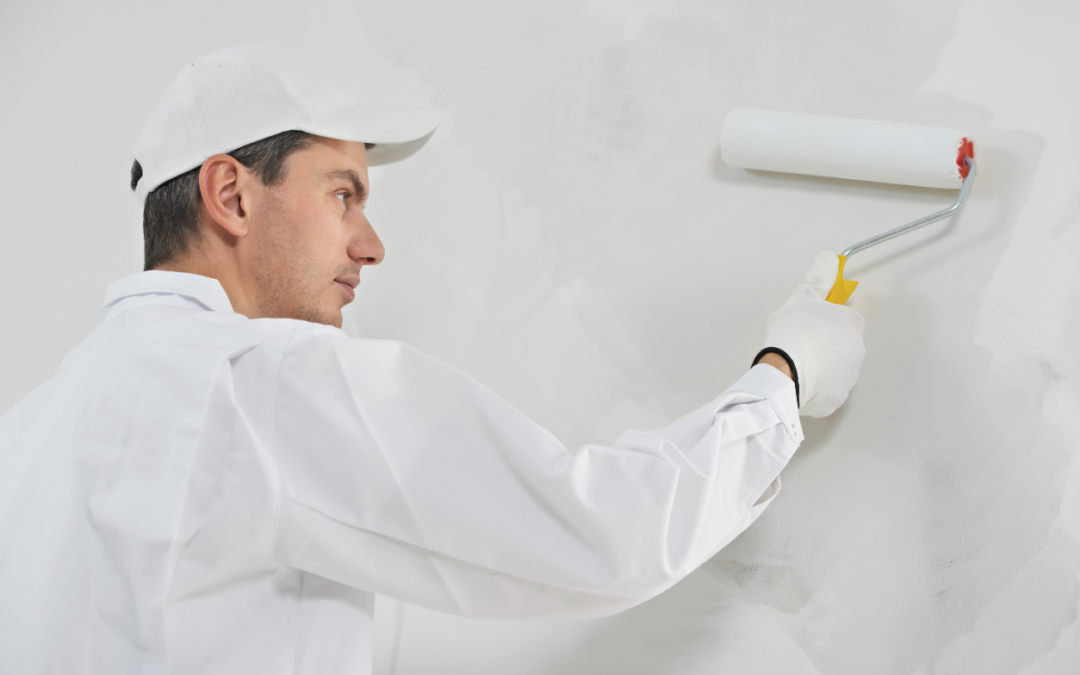
When you hire professional house painters for your home, you expect a beautiful, long-lasting finish. But the secret to a great paint job is not just the topcoat. The real magic happens before the first brush even touches the wall. Proper surface prep work is the most important step for durable results.
If you just slap paint over dirt or peeling spots, the new paint will fail. It might bubble, crack, or peel in just a few months. According to industry experts, proper surface preparation extends paint life by up to 50%. That is why experts at JT Paint & Design take their time getting your home ready. We want your paint to look amazing for years to come.
In this comprehensive guide, we will break down exactly how professional painters prep a home. We will cover both outside and inside prep steps. We will also look at the tools they use and the common mistakes they avoid. By the end, you will see why this hard work is worth every penny.
Why Surface Prep is So Important
You might wonder why house painters spend days prepping before they start painting. The answer is simple: paint needs a clean, smooth surface to stick to.
If there is dust, grease, or old peeling paint, the new paint will stick to the dirt instead of the wall. When that dirt falls off, the paint falls off with it. Good prep work solves this problem. It helps the paint grab onto the surface tightly.
Here are three big reasons why prep matters:
1. Better Paint Adhesion: Paint bonds tightly to clean, smooth walls. This means it will not peel away easily.
2. Longer Life: A well-prepped surface stops early peeling and cracking. This saves you money because you will not have to repaint as soon.
3. Smoother Look: Fixing holes and sanding bumps makes the final coat look perfect. The light will bounce off the wall evenly, making the room look brighter and cleaner.
Now, let us look at the exact steps professionals take to get these great results.
Step 1: Moving and Protecting Your Things
Before any cleaning or fixing begins, house painters must protect your property. Paint can splatter, and dust from sanding can go everywhere. A true professional treats your home with the utmost respect.
Protecting the Outside
For exterior painting jobs, pros focus on your yard and landscaping. They will carefully move patio furniture, grills, and potted plants away from the house. Then, they use special drop cloths or heavy plastic sheets to cover your bushes, flowers, and walkways.
They also tape plastic over your windows and doors to keep them clean. This step involves masking and shielding. Masking uses tape for precise edges, like around a window frame. Shielding uses big cloths to cover broad areas, like a driveway. This ensures that no stray drops of paint ruin your beautiful yard or hardscaping.
Protecting the Inside
For interior jobs, the first step is moving furniture. Painters will move your couches, tables, and chairs to the center of the room. They cover everything with heavy plastic or clean, thick drop cloths.
Next, they remove wall art, curtains, and light switch covers. They place all the screws in a safe spot so nothing gets lost. Finally, they tape off the baseboards, door frames, and window frames. This careful taping keeps the paint exactly where it belongs. It stops the wall paint from bleeding onto your nice white trim.
Step 2: Deep Cleaning the Surfaces
Paint will not stick to a dirty wall. Cleaning is a huge part of the surface prep process, and it is a step that many homeowners skip when they try to paint themselves.
Washing the Exterior
Outside walls face the weather every single day. They collect dirt, dust, bird droppings, mold, and mildew. To clean this off, house painters usually use a pressure washer. A pressure washer uses a strong, focused spray of water to blast away grime.
Sometimes, plain water is not enough. Painters will use a special cleaning soap or a bleach mix to kill mold and mildew. If they just paint over mold, the mold will grow right through the new paint! After washing, the house must dry completely. This can take one or two days, depending on the weather. If you paint wet wood, the paint will trap the moisture. Later, the sun will heat that moisture, turning it into vapor that pushes the paint off the wall.
Washing the Interior
Inside walls get dirty too, especially in kitchens and bathrooms. Kitchen walls often have hidden grease from cooking. Bathroom walls might have hairspray, lotion, or soap scum on them.
Painters use a damp rag and a mild cleaner to wipe the walls down. For tough grease, they might use a stronger cleaner called TSP (trisodium phosphate). Just like outside, the interior walls must dry fully before the next step. Dusting the walls with a dry microfiber cloth is also a common step for bedrooms and living rooms.
Step 3: Scraping Away Old Paint
Once the house is clean and dry, it is time to deal with the old paint. If the old paint is peeling, flaking, or bubbling, it has to go. If you paint over loose paint, the new coat will just peel right off with it.
Professionals use sharp paint scrapers to gently remove the loose edges. They are careful not to dig into the wood or drywall underneath. For really stubborn areas, they might use a wire brush. On older homes, they might use a heat gun to soften thick layers of old paint so it scrapes off easier.
This step takes a lot of patience and muscle. House painters know they have to get down to a solid, tight surface. If they leave any loose flakes behind, it will ruin the final finish. They will check under the edges of siding boards and around window sills, as these are common spots for paint to fail.
Step 4: Repairing Damage and Fixing Flaws
No house is perfect. Over time, walls get dinged, and wood gets damaged. A fresh coat of paint will not hide these flaws; it actually makes them stand out more! Paint is a thin liquid, not a magic eraser. That is why repairing damage is a key step.
Fixing Exterior Wood
Outside, the sun, rain, and snow can damage wood trim and siding. House painters look closely for signs of wood rot. Wood rot happens when water gets into the wood and fungi start to eat it.
If they find soft, rotting wood, they have to fix it. Sometimes they can use a special wood hardener and an epoxy filler to patch small, soft spots. The epoxy dries harder than the original wood! For big areas of rot, the bad wood must be cut out entirely and replaced with new wood. They also check for loose nails and will nail down any loose siding boards so everything is tight and secure against the house.
Patching Interior Walls
Inside, walls take a beating. They get bumped by furniture, scraped by toys, and pierced by picture nails. Painters use a putty knife and a patching compound, like spackle, to fill in nail holes and small dents.
If there are big cracks or holes in the drywall, they use joint compound and fiberglass mesh tape to make a strong repair. They spread the patch smoothly, feathering the edges so it blends perfectly with the rest of the wall. This might take two or three coats of compound, with drying time in between.
Step 5: Sanding for a Smooth Finish
After the patches dry, the walls will have rough spots. Plus, the edges where old paint was scraped away will feel bumpy. To fix this, painters must sand the surfaces.
Sanding does two very important things. First, it makes everything smooth and flat. Second, it roughs up shiny surfaces. If a wall has glossy paint on it, new paint will have a hard time sticking to it. Sanding creates tiny, invisible scratches that give the new paint something to grab onto. This is called creating a “profile” or giving the surface “tooth.”
Professionals use different types of sandpaper depending on the job. They might use a fine-grit sanding block for small wall patches. For big exterior areas, they might use an electric sander.
After sanding, there is a lot of dust left behind. Painters always wipe the walls down with a damp cloth, a tack cloth, or use a shop vacuum to remove this dust. If they leave the dust on the wall, the paint will look gritty, like there is sand mixed into it.
Step 6: Caulking the Gaps
Caulking is a step that makes a good paint job look like a great paint job. Caulk is a flexible paste that seals gaps, cracks, and seams.
Exterior Caulking
Outside, house painters apply caulk around windows, doors, and corners. This seals out water and bugs. It also stops cold air from blowing into your house in the winter, which can actually lower your heating bills!
Pros use a special exterior acrylic-latex or elastomeric caulk. This type of caulk can stretch and shrink as the house moves with the changing weather. If they used a cheap, stiff caulk, it would crack as soon as the temperature changed. They also make sure to caulk any gaps where two pieces of wood meet, like on window trim.
Interior Caulking
Inside, painters run a thin line of caulk along the edges where the trim meets the wall. This includes baseboards, door frames, and crown molding. This fills in the dark shadow lines between the wood and the drywall. It makes the trim look like it is built right into the wall, giving the room a crisp, clean, professional look.
Applying caulk takes a lot of skill. Pros know exactly how much to squeeze out of the tube. They use a wet finger or a special tool to smooth it out perfectly. They also know that caulk needs time to dry before it can be painted. If you paint over wet caulk, the paint will crack as the caulk shrinks.
Step 7: Applying the Right Primer
The final prep step is priming. Primer is a special type of base coat. It is not meant to look pretty or provide the final color. It is meant to solve problems and create a perfect base for the topcoat of paint.
Do you always need primer? Not always. If you are painting over a clean wall with a similar color, you might skip it.
Choosing the right primer is crucial. For example, if you are painting outside over cedar wood, you need an oil-based primer to stop the wood’s natural oils from bleeding through. If you are painting a slick vinyl surface, you need a special bonding primer. Expert painters know exactly which primer to use for every unique situation.
The Tools of the Trade
Professional house painters do not just show up with a brush and a bucket. They bring an entire arsenal of specialized tools to ensure the prep work is done perfectly.
•Scrapers and Putty Knives: They carry various sizes of scrapers. Stiff blades are used for scraping paint, while flexible blades are used for spreading patching compound smoothly.
•Sanding Equipment: From simple hand blocks to pole sanders that reach the ceiling, having the right sanding tool is vital. Electric sanders save hours of hard work on big projects.
•High-Quality Tape: Pros use special painter’s tape that seals tightly to prevent paint bleed but peels off easily without damaging the surface underneath.
•Caulking Guns: A good caulking gun allows the painter to apply a smooth, even bead of caulk without making a mess.
•Moisture Meters: For exterior jobs, pros might use a moisture meter to check the wood. This ensures the wood is completely dry before they start painting.
Common DIY Prep Mistakes to Avoid
Many homeowners try to save money by painting their homes themselves. Unfortunately, they often rush the prep work. Here are some common DIY mistakes that professional house painters always avoid:
1. Skipping the Wash: Painting over dusty or greasy walls guarantees the paint will fail. Always wash the walls first.
2. Using the Wrong Caulk: Using 100% silicone caulk is a big mistake because paint will not stick to it. Pros use paintable acrylic or elastomeric caulk.
3. Not Letting Things Dry: Whether it is washing the house, applying caulk, or spreading patch compound, you must wait for things to dry completely. Rushing leads to bubbling paint.
4. Ignoring Safety: Scraping old paint, especially in homes built before 1978, can release dangerous lead dust. Pros know how to test for lead and handle it safely. They also use sturdy ladders and harnesses for high exterior work.
5. Skimping on Primer: Trying to save a few dollars by skipping primer usually results in having to buy an extra gallon of topcoat paint to get decent coverage.
By hiring professionals, you avoid these costly and frustrating mistakes.
Frequently Asked Questions (FAQ)
Do house painters clean walls before painting?
Yes, professional house painters always clean walls before painting. For exteriors, they use a pressure washer to remove dirt and mildew. For interiors, they wipe down walls with mild cleaners or TSP to remove grease and dust.
How long does it take to prep a house for painting?
Prep time varies based on the condition of the home. However, it is very common for prep work to take just as long, or even longer, than the actual painting process. A standard exterior might take 2 to 3 days just for washing, scraping, and caulking.
Do I need to move my furniture before the painters arrive?
Most professional painters will help move heavy furniture to the center of the room. However, it is helpful if you remove small, fragile items, wall art, and electronics before they arrive.
Is it really necessary to use primer?
Primer is not always required, but it is necessary if you are painting bare wood, new drywall, making repairs, covering dark colors, or blocking water stains. Your painting contractor will know exactly when primer is needed.
Can you paint over rotted wood?
No. Painting over rotted wood will trap moisture and cause the new paint to peel immediately. Professional painters will patch small areas of rot with epoxy wood filler or replace the wood entirely before painting.
The JT Paint & Design Difference
As you can clearly see, getting a home ready for paint is a massive amount of work. In fact, professional house painters often spend more time prepping a room than they do actually painting it!
At JT Paint & Design, we never cut corners on prep work. We know that a beautiful, long-lasting finish starts with a clean, smooth, and solid base. When you hire us, you are not just paying for paint on a wall. You are paying for the careful scraping, the precise sanding, and the expert repairs that make that paint last for years.
We treat your home with the utmost respect, protecting your furniture, floors, and landscaping from start to finish. We use the right tools, the highest quality materials, and proven techniques to ensure a flawless result. We do the hard work so you do not have to.
Conclusion: Trust the Process for Lasting Results
Painting your home is a big investment of time and money. You want results that look stunning and stand up to the test of time, whether it is facing the hot summer sun outside or the daily wear and tear of family life inside.
The next time you see house painters working on a home in your neighborhood, pay close attention to what they are doing. Chances are, for the first few days, you will not see a single paintbrush. Instead, they will be washing, scraping, patching, sanding, caulking, and priming. It is this hard, often messy work behind the scenes that guarantees a smooth, durable, and beautiful finish.