
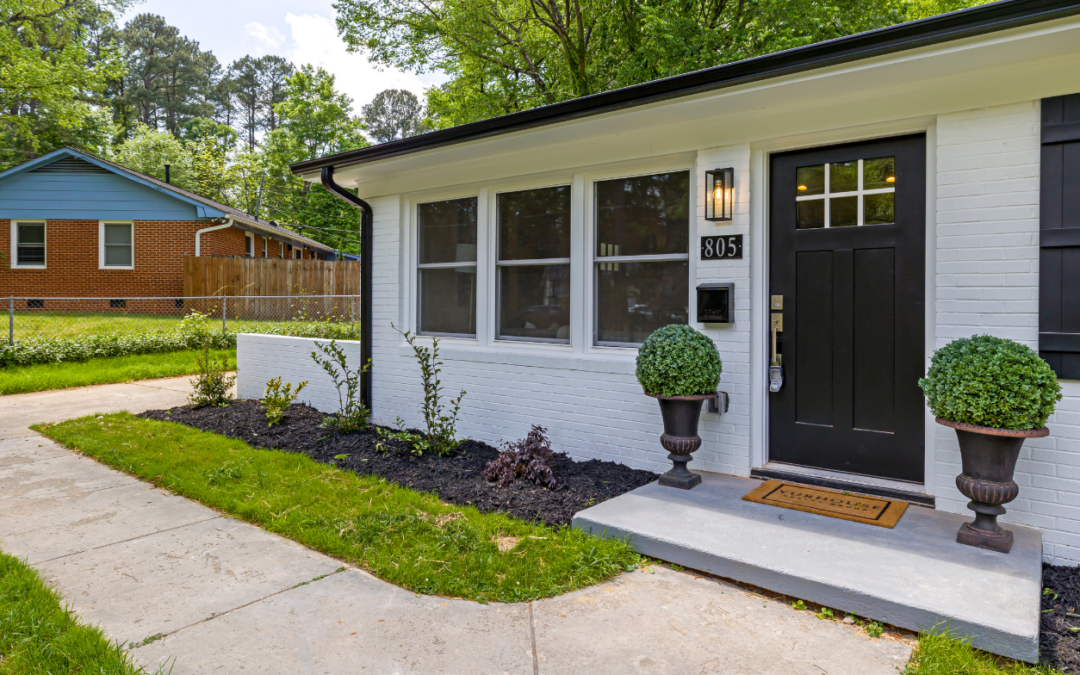
Your home deals with weather every day. Bright sun hits the siding. Rain runs over trim. Humid air settles into shaded spots. Cold nights and hot afternoons make outdoor surfaces expand and shrink.
That is why weather can change the look and life of a paint job. It can fade color, wear down the finish, trap moisture, and cause peeling. The good news is that you can protect your home when you know what to watch for.
This guide explains how weather affects exterior paint and what homeowners can do in every season. You will learn the warning signs, the right time to plan a painting project, and simple steps that help your home stay protected.
How Weather Affects Exterior Paint Over Time
Paint gives your home color, but it also works as a protective layer. It helps shield siding, trim, and other outside surfaces from sun and moisture. That layer faces a lot of stress over the years.
Weather does not damage paint in just one way. Sun can fade it. Heat can make fresh paint dry too fast. Rain can send water behind loose paint. Humidity can slow drying. Cold weather can make paint films stiff and can widen small cracks.
Some wear is normal as a paint job ages. But when you catch a small problem early, you can often make a simple repair instead of facing a larger job later. A quick walk around your home a few times each year can help you spot trouble before it spreads.
Sun Can Fade Color and Wear Down the Finish
Sunlight is one of the biggest reasons paint changes over time. Walls that get the most direct sun often fade before shaded walls. You may notice this when you move a planter, sign, or outdoor decoration. The paint behind it can look darker than the paint around it.
The color is not the only thing that changes. Strong sun can make the finish look dry, dull, or chalky. Chalking is a powdery film that can rub off on your hand or clothing. It happens when the outer part of the paint starts to break down.
Pay extra attention to the sides of your home that get the most afternoon sun. Check doors, porch railings, garage trim, and window trim, too. These spots often show wear first because they have less shade and may get more heat.
You cannot stop the sun, but you can reduce the damage. Keep painted surfaces clean so dirt does not sit on them. Fix chips and cracks before water can get inside. When it is time to repaint, choose a quality coating that fits your surface and climate. A professional can help you pick colors and products that work well for your home.
Heat Can Cause Problems During a Paint Project
A hot, sunny day may look like a perfect painting day. There is no rain, and the sky is clear. But a surface in direct sun can become much hotter than the air.
Fresh paint needs time to spread out and bond to the surface. When a wall is too hot, paint can dry before the painter has time to keep the finish even. That may leave brush marks, roller lines, or lap marks. Lap marks are lines that show where one painted area dried before the next area was finished.
Heat can also make it harder to get a smooth look on trim and doors. Dark-colored surfaces are often hotter than light-colored surfaces in the same sun. A wall that feels very hot to the touch is usually not the best place to paint at that moment.
A smart painting plan follows the shade. Start on the side of the home that is out of direct sun. Move around the house as the shade moves. Keep paint containers out of the sun, and work in smaller sections when conditions are warm.
Always follow the directions for the paint product you use. Each paint has its own temperature range and dry-time needs. The right weather window helps the paint look better and last longer.
Rain Can Lead to Peeling and Water Damage
Rain is a clear problem for fresh paint. If rain lands on a painted surface before the coating has dried enough, it can leave marks, streaks, or weak areas. In some cases, it can wash paint away.
Rain can also create problems long after the paint job is complete. Water may find its way behind old paint through a crack, loose caulk, open seam, or damaged board. Once moisture gets behind the paint, it can push the coating away from the surface. This may cause bubbles, blisters, or peeling.
Do not ignore peeling paint near windows, doors, rooflines, or gutters. These areas often deal with water from rain, splashing, or small leaks. Look for dark stains, soft wood, or paint that feels loose around the edges. These signs can mean water is getting where it should not be.
The best fix starts with the source of the water. Clean gutters so they can carry rain away. Make sure downspouts point water away from the house. Repair damaged caulk, loose trim, and leaking areas before repainting.
Painting over an active water problem will not solve it. The new coat may look good for a short time, but the moisture can cause the same damage again. Fix the problem first, let the surface dry, then prepare and repaint it.
Humidity and Dew Can Slow Drying
Humidity is the moisture in the air. On a humid day, the air already holds a lot of water. That can make it take longer for fresh paint to dry.
Slow drying can cause trouble. Paint may stay soft or sticky longer than expected. Dust, bugs, and pollen have more time to land on the surface. A damp surface can also make it harder for the paint to hold well.
Dew can be just as important. You may see dew on grass, cars, railings, and siding in the morning. It can also form later in the day when temperatures drop. Even if the forecast says there is no rain, a wall may still be damp.
Before painting, look closely at the surface. Dark spots can mean the material still holds moisture. Run your hand over the wall, trim, or railing. If it feels damp, wait. The surface needs time to dry before a new coat goes on.
When planning exterior work, choose a stretch of mild and dry weather when you can. Start after the morning dew is gone. Finish early enough for the paint to dry before the air turns cool and damp in the evening. This simple timing step can make a big difference.
Cold Weather and Frost Can Stress Painted Surfaces
Cold weather brings a different set of risks. Most paint products need the temperature to stay within a certain range while the coating dries. When it gets too cold, paint may take much longer to dry or may not bond the way it should.
Frost is a clear sign to stop. Frost adds moisture to the surface and makes it too cold for many types of paint. The same is true for a wall that is still cold after a long night, even when the afternoon feels warmer.
Cold weather can also affect an older paint job. Wood, trim, and other materials move as temperatures change. They can expand in warm weather and shrink in cold weather. Over time, that movement can pull at the paint and cause small cracks.
Freeze-and-thaw cycles can make those cracks worse. Water can enter a tiny opening, freeze, and expand. When it melts, it can leave a larger space for more water to enter. That is why small cracks and loose caulk need attention before winter weather arrives.
If you live where winters are cold, inspect your home in early spring. Look for new peeling, cracked paint, open seams, and loose trim. Small repairs in spring can help prevent larger water problems later.
Wind Can Leave a Rough, Uneven Finish
Wind may not seem as serious as rain or cold, but it matters during a paint project. Strong wind can blow dust, pollen, leaves, and other debris onto wet paint. Those small pieces can get stuck in the finish and make it feel rough.
Wind can also make paint dry faster. On a warm, breezy day, a painter may have less time to spread the paint evenly. That can lead to visible lines and uneven shine.
Before painting outside, clear loose items away from the work area. Cover nearby furniture and protect plants as needed. If the wind is strong, it may be better to wait for calmer conditions. Patience helps create a cleaner, smoother finish.
Signs Weather Has Damaged Your Paint
You do not need special tools to find many paint problems. Take a slow walk around your home in the spring and fall. Look at the whole house, but give extra time to trim, doors, windows, corners, railings, and the lower parts of walls.
The table below can help you understand what you see.
|
Sign
|
What it may mean
|
Best next step
|
|
Faded color
|
Sun has worn the finish
|
Clean the surface and plan for repainting before the coating fails
|
|
Powdery residue
|
The outer paint layer is breaking down
|
Wash and prepare the surface before adding paint
|
|
Small cracks
|
Age or surface movement has stressed the coating
|
Scrape loose paint and seal openings before water gets in
|
|
Bubbles or blisters
|
Moisture or heat may be under the paint
|
Find and fix the cause before making a repair
|
|
Peeling paint
|
Paint has lost its grip or water has moved behind it
|
Remove loose paint, correct the cause, and repaint
|
|
Dark spots in shady areas
|
The surface may stay damp too long
|
Clean the area and improve airflow and water control
|
Peeling paint is more than a look problem. It can leave the material below exposed to sun and water. When you repair peeling early, you help protect the surface under it.
A Simple Seasonal Care Plan
Weather changes through the year, so your paint-care routine should change too. You do not need to repaint every season. A few simple checks can help your paint last longer.
Spring: Look for Winter Damage
Spring is a good time to inspect the house after cold, rain, and winter storms. Check for peeling, cracked caulk, clogged gutters, and loose boards. Wash away dirt and grime that built up over the winter.
If you find small problem areas, plan repairs before spring rain has a chance to make them worse. Make sure the surface is dry before you scrape, caulk, prime, or paint.
Summer: Watch the Sunny Sides
Summer is the time to look for fading and chalking. Check the walls that get the strongest sun, as well as doors, railings, and trim. Trim plants that press against siding or hold moisture near the home.
If you plan a painting project, avoid the hottest time of day when you can. Work with the shade, not against it. This helps the surface stay at a better temperature for painting.
Fall: Seal Small Gaps Before Cold Weather
Fall gives you a chance to prepare for wet and cold days. Look at the caulk around windows, doors, and trim. Clean gutters and make sure downspouts move water away from the house.
If you see small cracks or peeling areas, take care of them before winter. A little maintenance now can keep water from reaching the surface below the paint.
Winter: Watch for Water Problems
Winter may not be the right season for a full paint project, but it is still a good time to watch for trouble. Look for leaks, water stains, ice buildup, and paint that is peeling near rooflines or windows.
When it is safe, keep snow and wet debris away from the base of the home. If you see a new problem, make a note so you can address it when the weather improves.
Plan Your Paint Project for the Right Weather
Good results start before the first brush or roller comes out. A paint project needs a clean, dry surface and a weather window that matches the product directions.
First, check the forecast for more than one day. Do not focus only on the hour when the job begins. Look for rain, cold nights, very hot afternoons, and humid conditions. Paint needs time to dry after it goes on.
Next, inspect the surface. Remove loose paint. Repair damaged wood and trim. Seal open gaps with the right caulk. Wash away dirt, dust, and chalky residue. Let the area dry before paint goes on.
Then, plan the work around the sun and shade. Start on the cooler side of the home and avoid painting surfaces that are very hot. Be ready to pause if rain begins, wind becomes too strong, or the surface becomes damp.
This careful approach takes planning, but it saves time in the long run. A paint job that starts with the right prep and the right weather is more likely to look even and hold up well.
Why Preparation Matters as Much as Paint
Quality paint matters, but preparation matters just as much. Even a great product cannot solve rotten wood, trapped moisture, loose old paint, or dirty siding.
A thorough exterior project often includes cleaning the surface, scraping loose paint, sanding rough edges, repairing damaged areas, sealing gaps, and priming bare spots when needed. The right process depends on the type of siding or trim and the condition of the home.
Good prep gives the new coating a clean, solid surface to hold. It also helps the finish look smoother. When weather changes later, that strong bond helps the paint do its job.
Do not overlook small details. A cracked line of caulk can let water reach the trim. A clogged gutter can send water down a wall. A shrub that rests against siding can hold dampness in one area. Fixing these issues supports a longer-lasting finish.
When to Ask a Painting Professional for Help
Some problems need more than a quick touch-up. Large peeling areas, recurring bubbles, soft wood, water stains, or paint that fails again and again may point to a deeper issue. Painting over the surface may hide the problem, but it will not fix the cause.
JT Paint & Design can help you understand what your home needs before the work begins. A professional evaluation can identify damaged areas, moisture concerns, needed repairs, and the best time to plan the project.
Whether you need to refresh faded siding, repair weather-worn trim, or update your home’s color, the right preparation and timing make a real difference. Contact JT Paint & Design to discuss your exterior painting project and take the next step toward a durable, welcoming finish.