
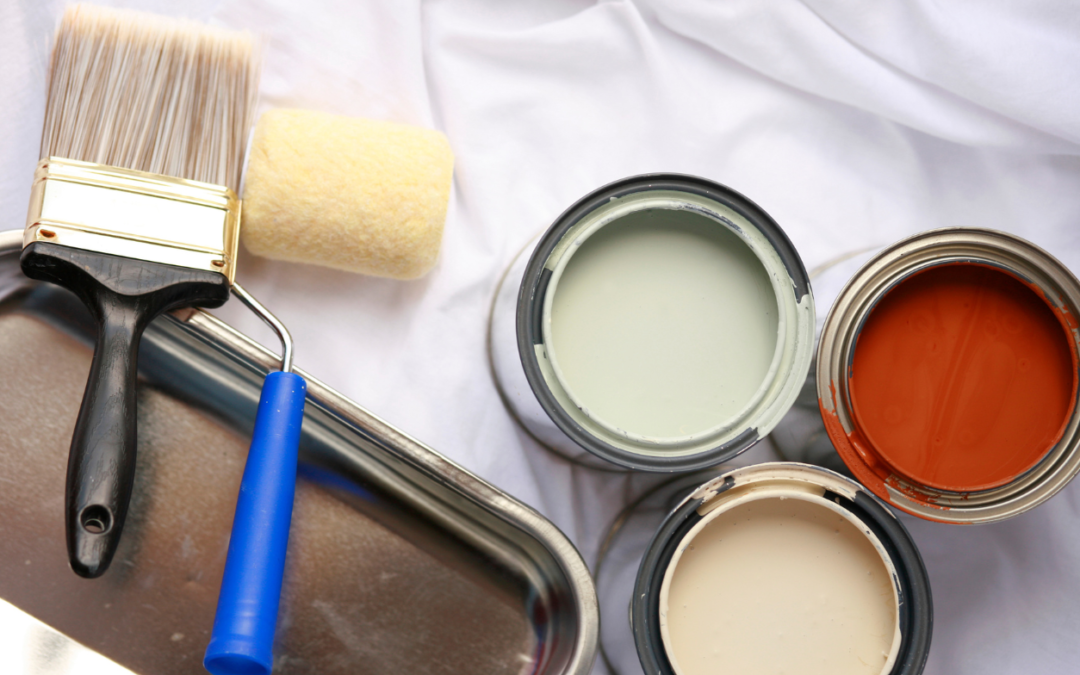
When you hire a painting company, you are not only paying for a new color. You are paying for careful prep, skilled work, and the materials that protect your home. Quality paint, primer, brushes, rollers, caulk, and repair products all matter. They help the finish look smooth on day one and stay strong over time.
At JT Paint & Design, we believe a paint job should do more than look good for a few weeks. It should help your space feel clean, cared for, and complete. That is why professional house painters choose materials based on the surface, the room, the weather, and the goal of the project. The right product makes the work better.
The wrong product can lead to peeling, uneven color, stains, rough texture, and early repainting.
This guide explains what quality materials do, what painting pros often use, and how those choices help your home.
Quality Materials Start With a Better Plan
A good paint job starts before a painter opens a can. First, the team looks at the surface. Is the wall smooth or damaged? Is the trim bare wood? Does the bathroom have moisture? Is the exterior exposed to strong sun, rain, or wind? The answers help the painter choose the right products.
Cheap materials may seem like a way to lower the first cost. But they can make the job harder. Thin paint may need extra coats. Low-grade rollers may leave lint. Weak caulk may split as wood moves. A poor primer may not block stains or help paint stick. Small savings at the start can create a larger cost later.
Quality materials give painters more control. They spread more evenly, cover better, and work with the surface instead of against it. That helps the crew create a clean finish with fewer surprises.
Professional-Grade Paint: More Than Just Color
Paint is a mix of color, binders, liquids, and other ingredients. The binder is especially important because it helps form the dry paint film on the wall or siding. A better paint product often gives the painter stronger coverage, a more even finish, and easier touch-ups.
A professional does not choose paint only by the color card. They also look at the product type. Interior wall paint, ceiling paint, trim paint, cabinet paint, and exterior paint all have different jobs. One paint cannot do every job well.
For example, a kitchen wall may need a finish that is easy to wipe clean. A ceiling often looks best with a low-sheen finish that helps hide small marks. Trim needs a tough coating because hands, shoes, pets, and furniture bump into it often. Exterior siding needs paint made to stand up to outdoor conditions.
Good house painters also pay attention to sheen. Sheen is how shiny the paint looks after it dries. Flat paint has little shine. Semi-gloss and gloss have more shine. More shine can make cleaning easier, but it can also show dents and rough spots. A skilled painter helps homeowners balance beauty, use, and surface condition.
Paint Brands and Product Lines
Many trusted paint brands offer both homeowner and professional product lines. Examples include Sherwin-Williams, Benjamin Moore, PPG, Behr, and Dunn-Edwards. The best choice is not always the most costly can on the shelf. It is the paint that fits the project.
JT Paint & Design can help match the coating to your needs. A child’s bedroom does not need the same product as a front door. A dry living room is different from a steamy bathroom. A shaded exterior wall may need a different plan than a wall that gets direct afternoon sun.
When comparing paint products, a pro looks beyond the label. They consider coverage, washability, dry time, sheen, color choice, surface type, and the number of coats needed. They also follow the product directions for use and dry time. This careful choice helps produce a finish that looks planned, not rushed.
Primer Helps Paint Do Its Job
Primer is one of the most useful products in a painter’s toolkit. It can help paint grip the surface, even out a wall, seal repaired spots, and block certain stains. It is not always needed over a clean, sound wall that already has a similar color. But many projects need it.
Primer matters most when a surface is bare, stained, patched, glossy, or very different in color from the new paint. Bare drywall, raw wood, repaired wall areas, and surfaces with water or smoke marks all need special attention. Skipping primer in those cases can leave the finish uneven.
A well-known paint manufacturer advises that sound surfaces should be clean, solid, and dry before painting. Its preparation guidance also calls for loose paint removal, repair work, light sanding of glossy surfaces, dust removal, and primer on bare areas before the topcoat goes on.
That process may sound simple, but it makes a big difference. Think of primer as the bridge between the surface and the topcoat. When the bridge is strong, the color coat has a better base.
Different Primers for Different Problems
Professional painters do not use one primer for every problem. A bonding primer may help on a hard or glossy surface. A stain-blocking primer can help keep old stains from showing through. A wood primer can prepare bare trim or siding. A drywall primer can help new drywall take paint more evenly.
This is why a painter may ask questions about a room before giving a final recommendation. Have there been leaks? Is there smoke staining? Are the walls freshly repaired? Is the old paint peeling? These details help the team use the right system from the start.
Brushes Create Sharp, Clean Lines
A quality brush is important for trim, doors, corners, windows, and other detailed areas. Professional brushes hold paint well and release it in a controlled way. That helps painters cut a neat line where a wall meets a ceiling, a baseboard, or a door frame.
Brush choice depends on the paint and the work. Synthetic bristle brushes often work well with water-based paint. Natural bristle brushes are often used with oil-based products and some specialty coatings. Angled sash brushes help painters make clean, steady lines around trim and edges.
A good brush does not replace skill, but it supports skill. It helps the painter spread paint in a smooth layer without digging grooves into the surface. It also sheds less. That means fewer stray bristles stuck in a fresh coat.
Quality brushes can often be cleaned and used again when they are cared for properly. This is better for the job and reduces waste. A professional crew keeps tools clean because clean tools help create clean results.
Rollers Help Walls Look Smooth and Even
A roller may look simple, but the roller cover can change the look of a room. The soft fabric on the roller is called the nap. A short nap works well on smooth walls and ceilings. A thicker nap can hold more paint and reach into textured surfaces.
If a roller nap is too thick for a smooth wall, it can leave too much texture. If it is too thin for a rough surface, it may not fill the dips and grooves. A professional chooses the nap based on the wall, ceiling, siding, stucco, brick, or other surface.
The roller frame matters, too. A sturdy frame gives the painter better control. A good cover holds paint evenly and reduces lint. These details help prevent patchy spots and roller lines.
Caulk, Filler, and Repair Products Make the Finish Look Complete
Paint cannot hide every flaw. Before painting, pros often repair nail holes, dents, cracks, gaps, and loose areas. The materials used for these repairs matter just as much as the paint.
Patching compound helps fill small holes and dents in drywall. Wood filler can repair small flaws in trim. Caulk seals narrow gaps around trim, baseboards, windows, and door frames. When these repairs dry and get sanded smooth, the final paint job looks more finished.
Good caulk stays flexible as materials move a little with heat and humidity. This is useful around trim and other joints. However, caulk is not a fix for every large crack or water problem. A skilled painter looks for the cause of the issue before covering it.
The goal is not to hide damage for a day. The goal is to create a sound surface that supports the new finish. That is one reason quality house painters spend time on prep. The surface underneath matters as much as the color on top.
Surface Prep Is a Material Choice, Too
People often think of paint and tools when they think of quality materials. But surface prep products are also important. Cleaners, scrapers, sanding sponges, sandpaper, tack cloths, drop cloths, masking paper, and painter’s tape all help the job go well.
Prep removes what paint should not cover. Dirt, grease, dust, loose paint, and gloss can keep new paint from bonding as it should. On older surfaces, the team may scrape loose paint, sand rough edges, clean the area, patch it, and then prime where needed.
For interior rooms, prep may include moving and protecting furniture, covering floors, removing outlet covers, fixing wall damage, and wiping down surfaces. For exterior projects, it may include washing, scraping, sanding, caulking, and protecting landscaping and walkways.
A professional paint manufacturer’s guidance notes that old dirt, grease, soap, oil buildup, loose paint, and powdery material should be removed before repainting. It also recommends a dull surface for glossy areas and primer on bare spots to help avoid an uneven final appearance.
This work takes time, but it is time well spent. Great paint over a dirty or failing surface may still fail. Quality materials work best when the prep work is done right.
The Right Products Protect Your Home
Paint does more than change a room’s style. On many surfaces, it adds a layer of protection. Exterior coatings help protect siding and trim from normal weather exposure. Interior coatings can make walls easier to clean and help busy rooms handle everyday use.
The level of protection depends on the condition of the surface, the product chosen, proper preparation, and the local environment. A house near strong sun, moisture, wind, or salt air may need a different product plan than a house in a mild, dry area.
That is why professional painters look closely at exterior details. They check for peeling paint, cracked caulk, exposed wood, mildew, and soft areas. Paint should not be used as a quick cover for a deeper repair issue. Fixing the surface first helps protect the work and your home.
A Note About Older Homes and Lead Safety
If a home was built before 1978, disturbed old paint may require special care. The U.S. Environmental Protection Agency states that paid work that disturbs painted surfaces in many pre-1978 homes, child care facilities, and preschools is subject to lead-safe certification and work-practice rules.
Homeowners should tell their painting contractor if they know the home is older or if they have concerns about old paint. A qualified professional can explain the work plan and the safety steps that may apply. Protecting people in the home is always more important than finishing fast.
Why Better Tools Save Time and Improve Results
Quality tools do not only improve the final look. They also help the crew work in a steady, careful way. A solid extension pole helps a painter reach high walls safely. A dependable ladder helps with trim and upper areas. Good drop cloths protect floors. Strong tape and masking materials protect glass, hardware, and nearby surfaces.
Better tools also support a cleaner process. A well-made tray liner makes it easier to manage paint. A sturdy paint bucket and grid can help with large wall areas. A brush comb helps clean a brush after use. Small details like these help a professional stay organized.
This does not mean every job needs the most expensive tool available. It means the tools should fit the task and be in good condition. A clean brush, fresh roller cover, sharp scraper, and proper sanding tool can make a clear difference.
Quality Does Not Mean One Product for Every Project
There is no single “best paint” for every house. The best product depends on where it will be used and what the surface needs. A strong painting plan uses the right materials in the right places.
For example, a premium interior wall paint may be a smart choice in a busy hallway where marks happen often. A stain-blocking primer may be the better investment in a room with old water marks. A specialty coating may make sense for cabinets, doors, or exterior metal. Each choice should solve a real need.
This is where experience matters. A professional sees the difference between a simple color update and a project that needs repairs, priming, or specialty coatings. The goal is not to sell more products. The goal is to use a paint system that gives the client a result they can enjoy.
How JT Paint & Design Brings It All Together
When you choose JT Paint & Design, you choose a team that pays attention to the full job. We begin with the surface and your goals. Then we recommend a clear plan for prep, repair, primer, paint, tools, and cleanup.
We know that your home is personal. You want walls that look smooth, trim that looks crisp, and color that feels right in the room. You also want the work area treated with care. Quality materials help us deliver that experience, but careful preparation and skilled application bring it to life.
Whether you are refreshing one room, updating cabinets, painting your exterior, or getting a home ready to sell, the right materials matter. They support a better finish, help protect the surfaces you value, and make the results last longer.
Final Thoughts: A Better Paint Job Begins With Better Materials
The best paint jobs are built in layers. First comes inspection. Then comes cleaning, repair, sanding, and primer when needed. After that, quality paint goes on with the right brushes, rollers, and tools. Each layer supports the next.
When you see a smooth wall, sharp trim line, or fresh exterior color, you are seeing more than paint. You are seeing a plan, a process, and materials chosen for a purpose. That is the value professional house painters bring to a project.
If you are planning a painting update, talk with JT Paint & Design about your goals. We can help you choose a color plan and a material system that fits your home, your surfaces, and your vision. Quality materials are not an extra. They are part of doing the job right.